How To Make Fishing Rod At Home
Hello everyone, today we are going to make an authentic homemade fishing rod, with its reel, perfectly functional, and that you can use to fish whenever you want.
For this, we will need the following materials:
- A cane of approximately 150 cm, or if you want your cane to be of a different size, whatever you want.
- Sewing thread, I will use three different colors.
- and Metal wire.
- Braided Fishing Line Vs Monofilament Diameter Chart
- Carbon Fiber Vs Graphite Fishing Rod
- Fishing Rod Spinning Vs Casting
- Graphite Vs Composite Fishing Rod
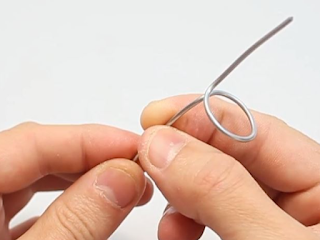
We will start by taking a small PVC tube, or something similar to it, that has a round shape, and we are going to pass the wire over it to mold it in such a way that it looks like a kind of ring.
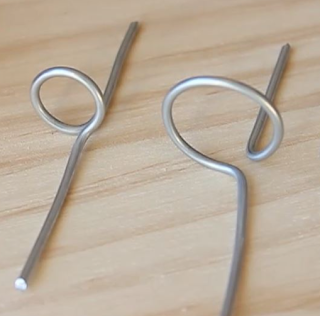
When we have this shape, we place it between two objects that we can crush, and raise the legs to both sides, one up, and one down. For our rod we will use 3 rings, two of a large size, and one of a smaller size.
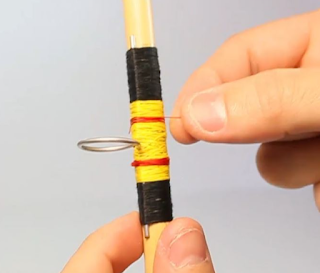
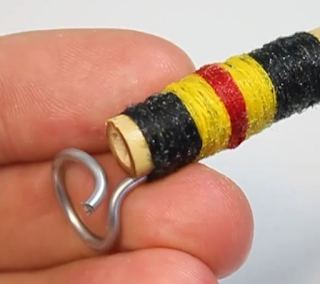
These rings are the ones that will hold the line of our reel, and will allow us to really fish. To fix them to the cane, we will put a piece of adhesive tape to fix them, and later, we will begin to wind it with sewing thread, until we have something like this left.

Putting several colors on it is optional, I have done it to give it a more cheerful touch, but with a single color, it would be enough. In my case I have used Black, yellow, and red to put some small lines as detail.
Once we have all the thread rolled up, we must harden it, and for this we are going to use lacquer or nail polish. well impregnating the entire thread area. To dry it, we can leave it in the sun for a few minutes and it will harden right away.
Therefore, we already have our first ring glued to the base, the second one that is placed in the middle of the cane, and the third and smaller one, which we will place in the upper part, leaving it to protrude a little, we cut the excess metal, and we do the same process as for the rest.